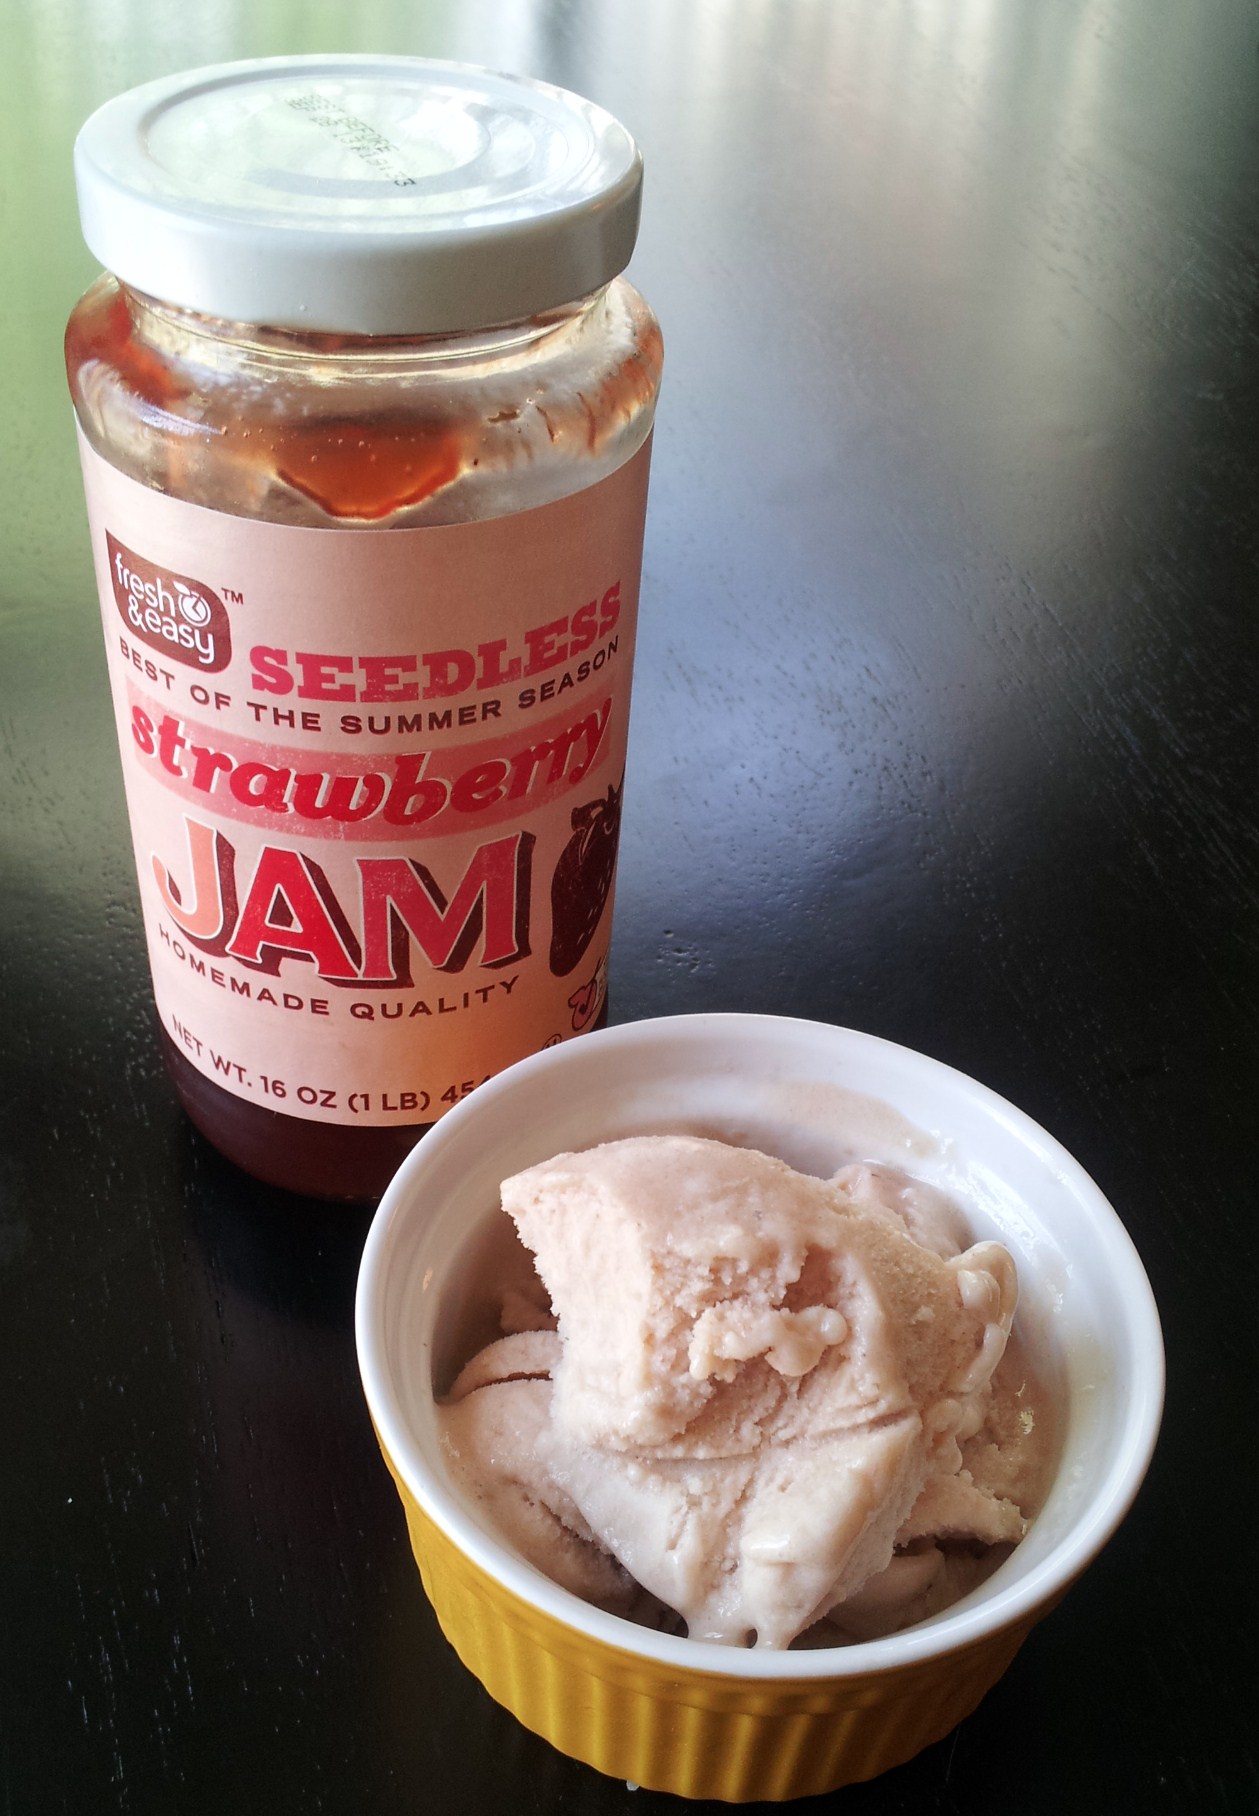
3 Ingredient Banana Strawberry JAM “Ice Cream”

You scream, I scream, we all scream for ice cream! Right?? Or, at least we would if it wasn’t so unhealthy for us. Well, how about a delicious, HEALTHY alternative to all those grams of fat and unwanted calories? And the best part, You probably have all the ingredients at home right now!

3 Ingredient Banana Strawberry “Ice Cream”  –  Serves 3-4ice cream

  • 3 frozen bananas
  • 2-3 tablespoons half-and-half
  • 5 tablespoons seedless strawberry jam

Peel, slice and freeze 3 bananas over night. place in a food processor and pulse till pea sized or just smaller. Slowly add half-and-half, a tablespoon at at time as you continue to process the bananas till smooth and well blended. If you have an ice cream  maker, this is where you get it out, and if not, just put banana puree back in the freezer for 30-45 minutes before continuing to next step.

Put mixture in ice cream maker (or leave refrozen mixture in food processor) and add strawberry jam. Turn on and let it mix slowly till well blended. If using ice cream maker, follow your machines instructions. If using food processor, remove well mixed creamy mixture, place in a metal container, and freeze 2-3 hours, until it reaches ice cream consistency. Enjoy your low calorie, healthy “ice cream” replacement!!


Hot Pink Breakfast Drink

We all know that starting the day off right means starting with a healthy breakfast. Lately, everywhere you go you  hear about “Green Smoothies” and all the amazing benefits of drinking your vegetables for breakfast. Over here we have as different, more delicious, color to try to amp up your morning routine!

The Hot Pink Breakfast Drinka bright pink juice made from fruits and vegetables

We have this every morning. The recipe serves 2-3.


6 carrots

2 stalks celery

1 leaf kale

½ beet with greens

2 apples

1 orange (peeled)


Put all above in a juicer…. delicious!


Easy Fruit Pizza

Easy Fruit Pizza


1 8 oz. package cream cheese, softened

1 8 oz. container whipped topping

1/2 c. powdered sugar

1 tsp. vanilla

Sugar cookie crust


Bake a large sugar cookie crust on a pizza pan or baking sheet, using your favorite sugar cookie recipe (or use a refrigerated dough to make life really easy). Allow to cool.

Combine softened cream cheese, powdered sugar and whipped topping using a mixer. Add vanilla. Spread topping on cooled sugar cookie crust.

Top with your favorite fruit. Cut into slices and share with friends.

Fruit ideas: strawberries, peaches, bananas, mandarin oranges, blueberries, raspberries, blackberries, apples, grapes, kiwi, pineapple.


Chef’s Note:

A fruit pizza makes a colorful dessert that is perfect for spring. I made this recipe last spring with a party of  8 girls (age 10). They had a blast decorating their cookie pizzas in teams and then devouring them.

For a more elegant presentation: serve the topping on individual sugar cookies and allow your guests to add the fruit toppings of their choice!

Cilantro-Lime Dressing

Cilantro-Lime Dressing


1 package Hidden Valley Ranch Dressing Mix (1 oz or 3 T.)

1 c. mayonnaise

1/2 c. milk

1 lime

2 cloves garlic

1/2 c. cilantro, roughly chopped

1/4 c. green salsa (I used Herdez brand)

hot sauce (I use Red Devil or Tabasco)


Place milk, mayo, and ranch mix in blender. Juice the lime and add to blender. Add minced garlic, cilantro and green salsa. Blend.

Add hot sauce to taste.

That’s it! Now put it in the fridge and give it time to thicken up.


Chef’s Note:

This is the easiest dressing to make…just throw all the ingredients into the blender and Voila!

It’s delicious served on salad, but can also be used as a marinade for fish or chicken.


Foolproof Mini Chocolate Souffles with Sauce

Foolproof Mini Chocolate Souffles with Sauce


½ cup sugar + 4 teaspoons for coating

8 squares (8 ounces semisweet chocolate)

3 large eggs

1 teaspoon vanilla extract

½ cup heavy cream


Place an oven rack in the middle position and preheat the oven to 400°.  Lightly rub four individual soufflé dishes with butter.  Put 1 teaspoon sugar in each dish, and tilt the dish so that the buttered surfaces are covered with sugar.  Use more sugar if necessary.  Set aside.

Melt the chocolate in a heavy frying pan over very low heat, stirring constantly.  When the chocolate is almost melted, turn off the heat and set aside to cool.  The heat of the pan will melt the remaining chocolate.

Separate the eggs, putting the whites into a medium metal or ceramic bowl with no traces of grease, and the yolks in another medium bowl.  Set the yolks aside.

Beat the egg whites with an electric mixer just until they form stiff peaks.  Do not over beat.  Set aside.

Add the ½ cup sugar and vanilla to the yolks and beat with an electric mixer or a whisk for about 1 minute, or until thick and light yellow.

Add half the melted chocolate to the beaten yolk mixture.  Set aside the rest of the chocolate for making the sauce.  Stir the chocolate mixture thoroughly.  Add the beaten egg whites and fold them together gently with a rubber spatula, turning the mixture over repeatedly until no white is showing.

Pour the mixture evenly among the four prepared soufflé dishes.  Bake for 20 to 25 minutes, or until the mini soufflés have risen and are beginning to brown.  Remove from the oven.


To Make the Sauce: While the mini soufflé are baking, add the cream to the reserved melted chocolate and stir thoroughly to incorporate, Ir the chocolate is too firm, heat it for about 1 minutes over very low heat, stirring constantly, until it softens enough to combine with the cream.

Unlike most souffles, which must be served as soon as they come out of the oven, these mini souffles can wait to be served for up to 30 minutes. Their tops will fall a little, but no one will notice because, just before serving, you make an incision in the top of each one with a knife, and then spoon in about 2 tablespoons of the warm chocolate sauce. If the souffle hasn’t fully cooked, no one will notice, because of the added sauce. Store leftovers, covered, in the refrigerator.


Chef’s Note:

This recipe may look intimidating, but it is rather simple, with just a few ingredients.

Tip:

To help get the soufflé dishes out of the oven easily, bake them on a cookie sheet and then simply lift the cookie sheet out of the oven.
 

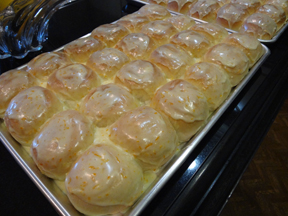
Easy Orange Rolls

Easy Orange Rolls


1 Package Rhoads Frozen Rolls


For the orange topping:

1 lb. box powdered sugar

zest from 1 orange

Juice from 1 orange (as needed)

1/2 t. orange oil ( I prefer Boyajian brand, or orange extract)


Spray a baking sheet with cooking spray (ie: Pam). Arrange the frozen rolls on the baking sheet. I can usually fit about 20-24 rolls to a sheet. Cover with a light dish towel and allow them to rise for 5 hours.

Preheat oven to 350. Take the towel off the sheet of rolls and bake in the oven for 18-20 minutes (Approximately. Rolls are done when they reach internal temperature of 180 degrees).

While rolls are baking, make the orange topping:

1) Zest the orange and set aside.

2) Juice the orange and set aside.

3) Sift the powdered sugar into a medium bowl.

4) Add a little orange juice at a time until it is a glaze consistancy.

5) Add the orange zest and orange oil.

6) Taste and make sure it is delicious!

7) Glaze the rolls while still warm.


Chef’s Note:

My grandma made homemade orange rolls from scratch! They were delicious, but sometimes I am pressed for time.

This easy orange roll recipe still packs a flavorful punch and is perfect for a large party. I get lots of compliments.

One friend said, “Wow, this tastes like an orange Krispy Kreme donut!”

No, my friend, these are BETTER!


Holiday Bruschetta

Holiday Bruschetta


1 c. chopped fresh basil (measure whole)

1 t. salt

1/2 c. olive oil

6 medium tomatoes, diced

2-3 cloves garlic, minced

1 T. dried oregano (optional)


Mix everything in a bowl and let sit 3-6 hours or overnight. The longer it sits, the better the flavor. Serve it on sliced french bread with fresh grated parmesan cheese.

Also great served over pasta, chicken or shrimp.


Chef’s Note:

This is the perfect holiday appetizer. It is easy to put together quickly (a bonus for this time of year!) and only calls for a few ingredients. The red and green colors in this dish are classic for the holidays.

Use this recipe as a potluck appetizer and enjoy the compliments!


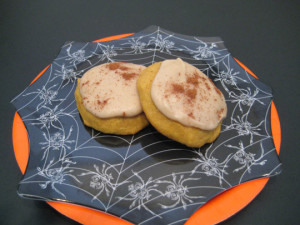
Aubrey’s Pumpkin Cookies

For Cookies:

2 cups butter, softened

2 cups granulated sugar

2 teaspoons baking powder

2 teaspoons baking soda

1 teaspoon salt

1 teaspoon ground cinnamon

1 teaspoon ground nutmeg

2 eggs

2 teaspoons vanilla

1 15-ounce can pumpkin

4 cups all-purpose flour


For Frosting:

1/2 cup butter

1/2 cup packed brown sugar

1/4 cup milk

1 teaspoon vanilla

2-3/4 cups powdered sugar

Ground cinnamon (optional)


Directions

1. Preheat oven to 350 degrees F. In a large bowl, beat 2 cups butter with an electric mixer on medium to high speed for 30 seconds. Add granulated sugar, baking power, baking soda, salt, cinnamon, and nutmeg. Beat until combined, scraping bowl occasionally. Add eggs and 2 teaspoons vanilla; beat until combined. Beat in pumpkin. Beat in as much of the flour as you can with the mixer. Using a wooden spoon, stir in any remaining flour.

2. Drop dough by heaping teaspoons 2 inches apart on an ungreased cookie sheet. Bake in the preheated oven for 10 to 12 minutes or until tops are set. Transfer cookies to a wire rack; let cool.

3. To make the frosting: in a small saucepan heat 1/2 cup butter and brown sugar until melted and smooth. Transfer to a medium bowl. Stir in milk and 1 teaspoon vanilla. Beat in powdered sugar until smooth. Spread frosting on cookies. If desired, sprinkle with additional cinnamon.

Makes about 60 cookies.